The doctor can enter the login information such as mobile number, password and then the doctor will be directed to the doctor dashboard page.
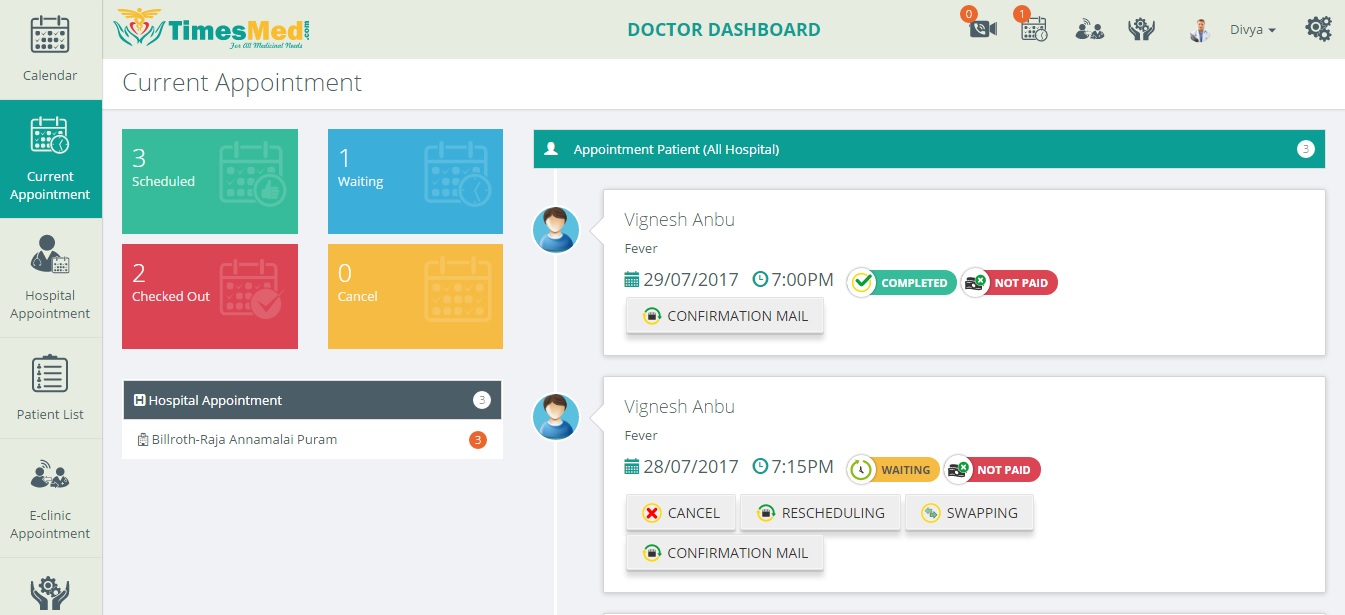
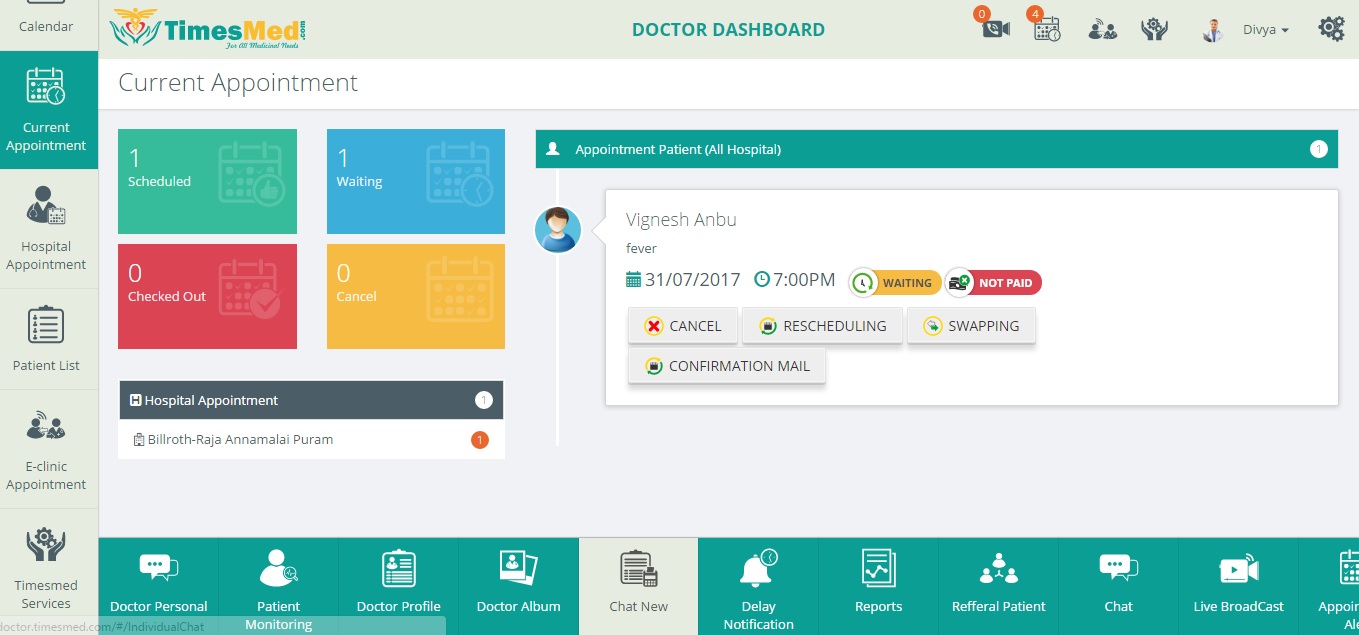
The Doctor Dashboard shows the current appointments list as well as the four colored tabs which denotes the appointment status.
The four color tabs shows the count of the scheduled, Waiting, Checked out and the Cancelled appointments. When you click on it, the list will be shown in the right side.
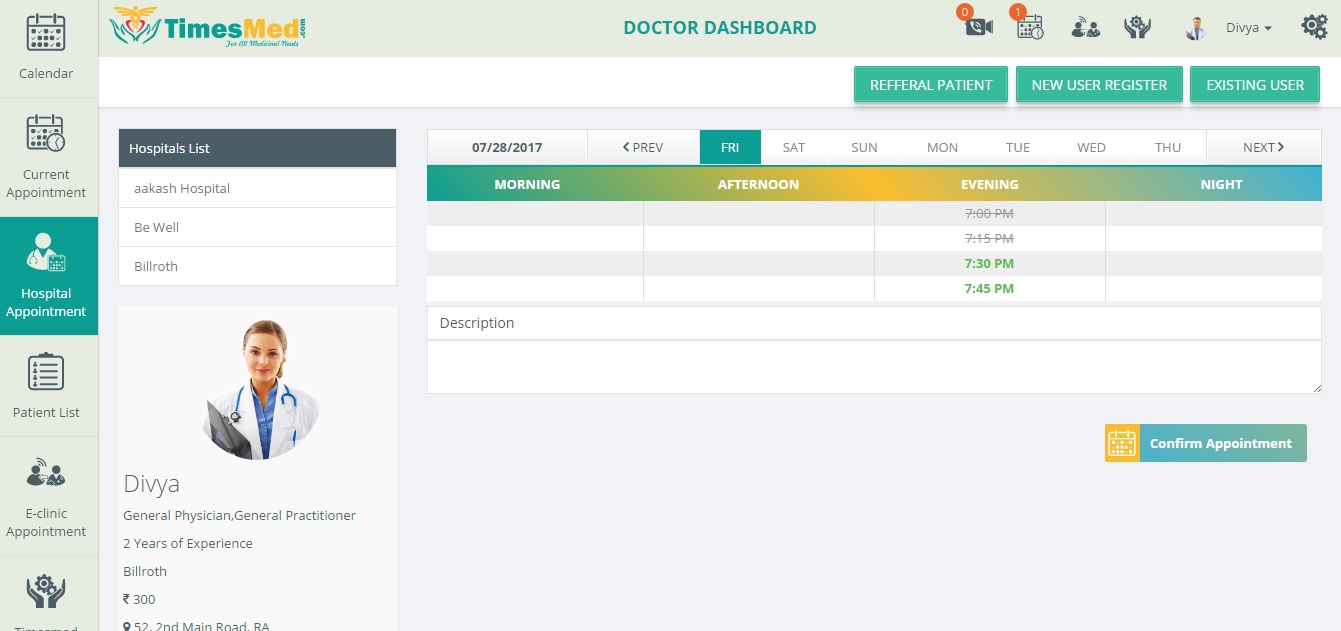
By clicking the Hospital Appointment tab on the left side menu, the above page can be viewed.
There the doctor can fix appointments by selecting New User Register tab or the Existing User tab which is found top right side.
Then the doctor can confirm appointments after choosing date and time.
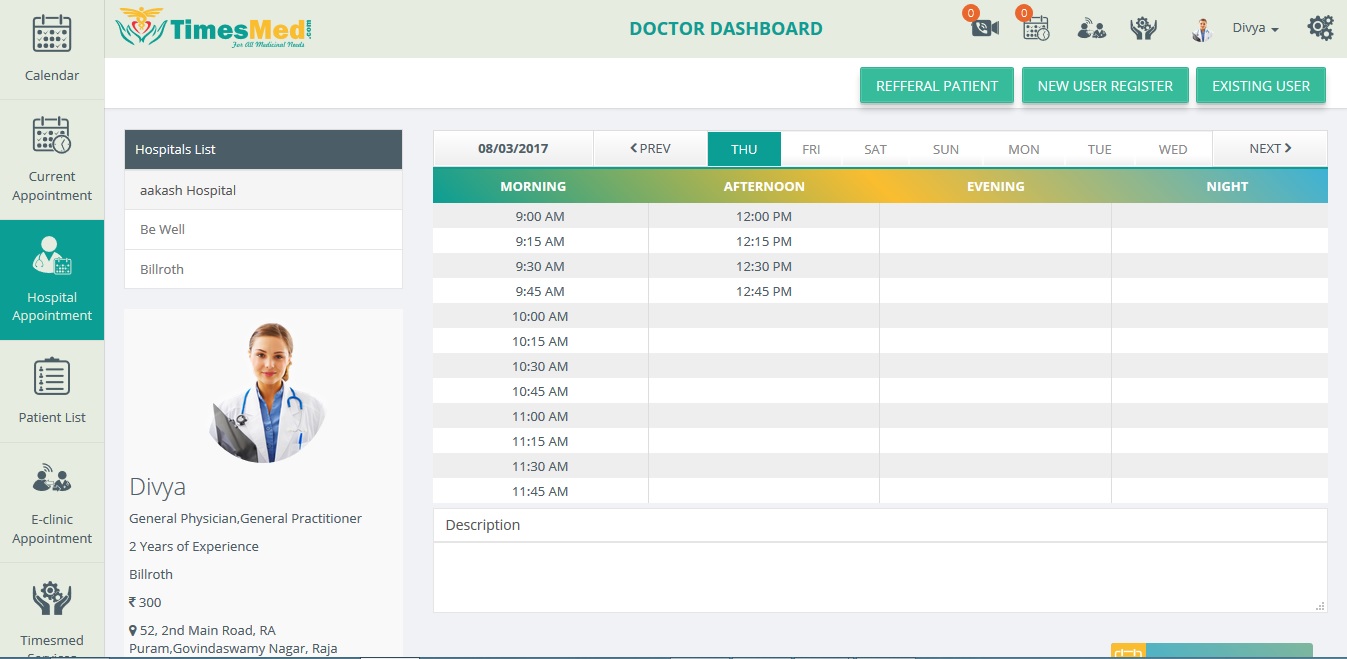
The doctor can select any of the hospital name from the hospitals list in the left side that he/she has given in the profile and then the timings for that hospital will be displayed for the doctor’s appointment.
When the doctor books an appointment for a patient and after which that specific time will be cut down or will not be available to book for other patients.
The doctor can give a short description about the appointment in the description text box.
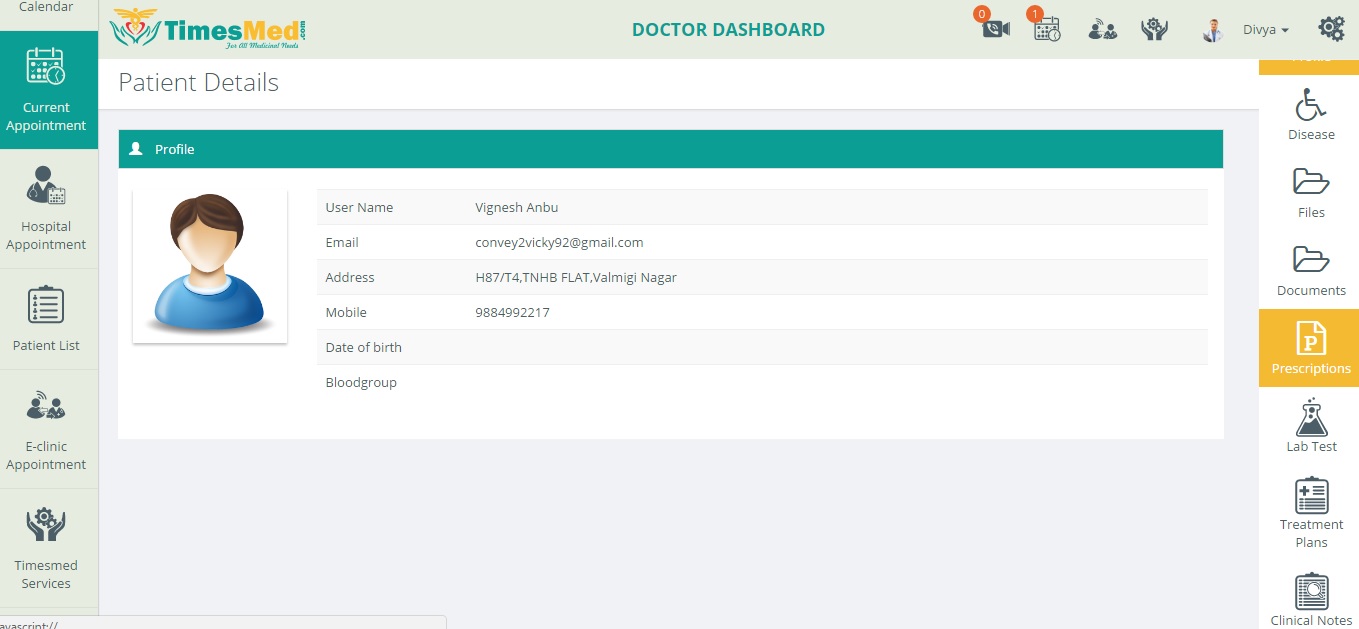
Select any of the appointment from the current appointment page and then the patient’s details will be shown.
Then the doctor can click on the prescription which is available in the right side sub menu.
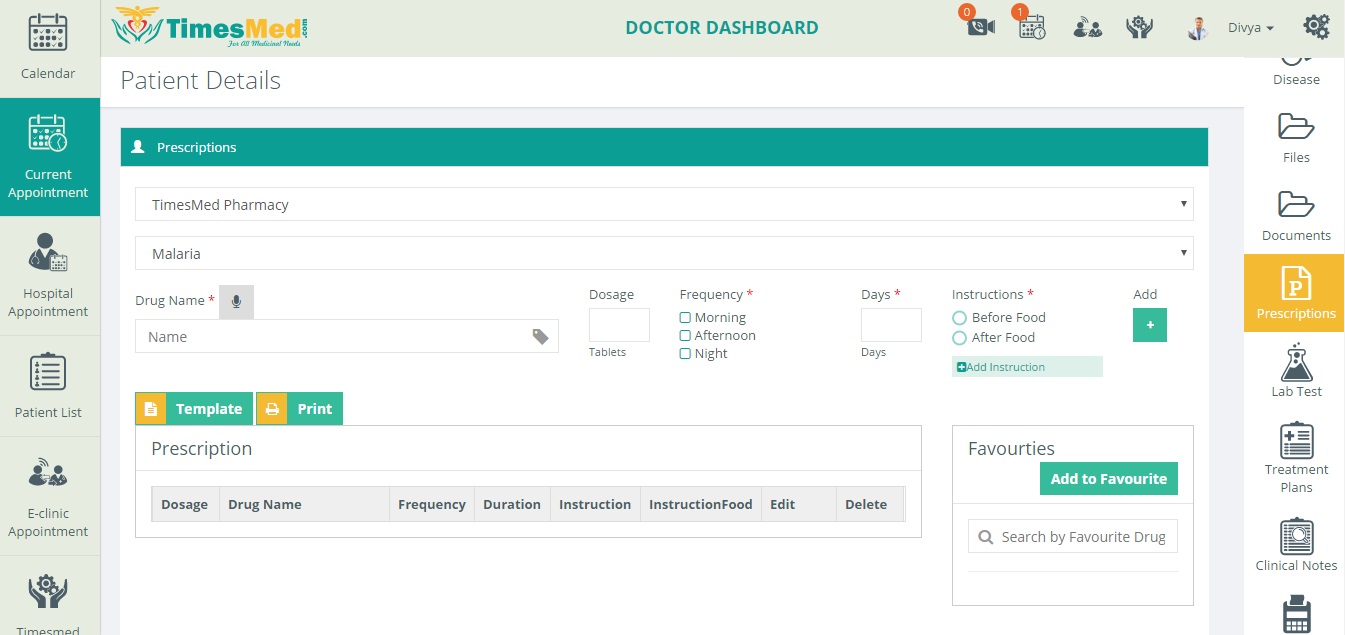
So here the doctors can prescribe the medicine name, dosage, frequency, instructions etc. to the respective patients and then click add.
So after that the medicines prescribed will be displayed below and then click submit.
Here the doctors can also create templates for some specific diseases so that it can be used whenever he/she wants to prescribe the same drug name for different patients having the same disease.
When the print option is selected the prescription will be printed with the letterhead.
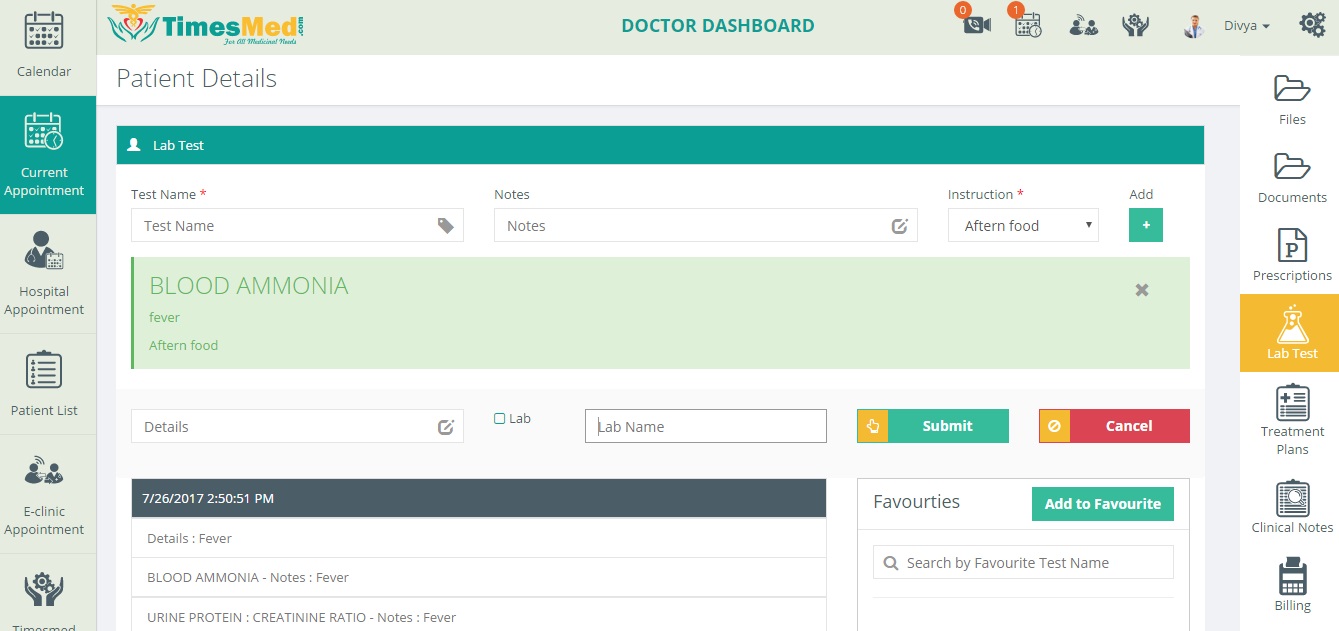
The doctor can select the lab test option from the right side sub menu.
The Test name, Notes, Instructions should be given and then by clicking the add option the lab test name will be displayed below highlighted in green.
After that the lab name can be searched and selected.
Details about the test that has to be taken should be given in the details text box and then click submit.
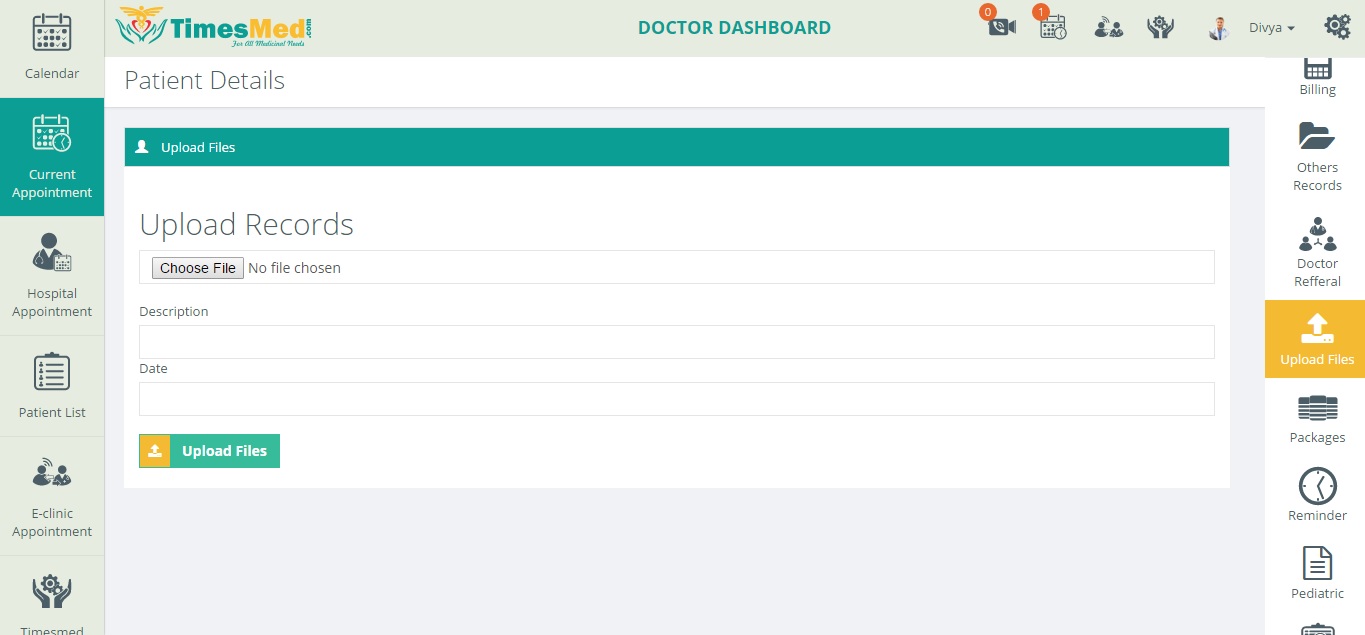
The records of the patient like blood test, can be uploaded by the doctor by selecting the upload files option which is available in the right side sub menu.
After uploading the records, the description and the date should be given to submit.
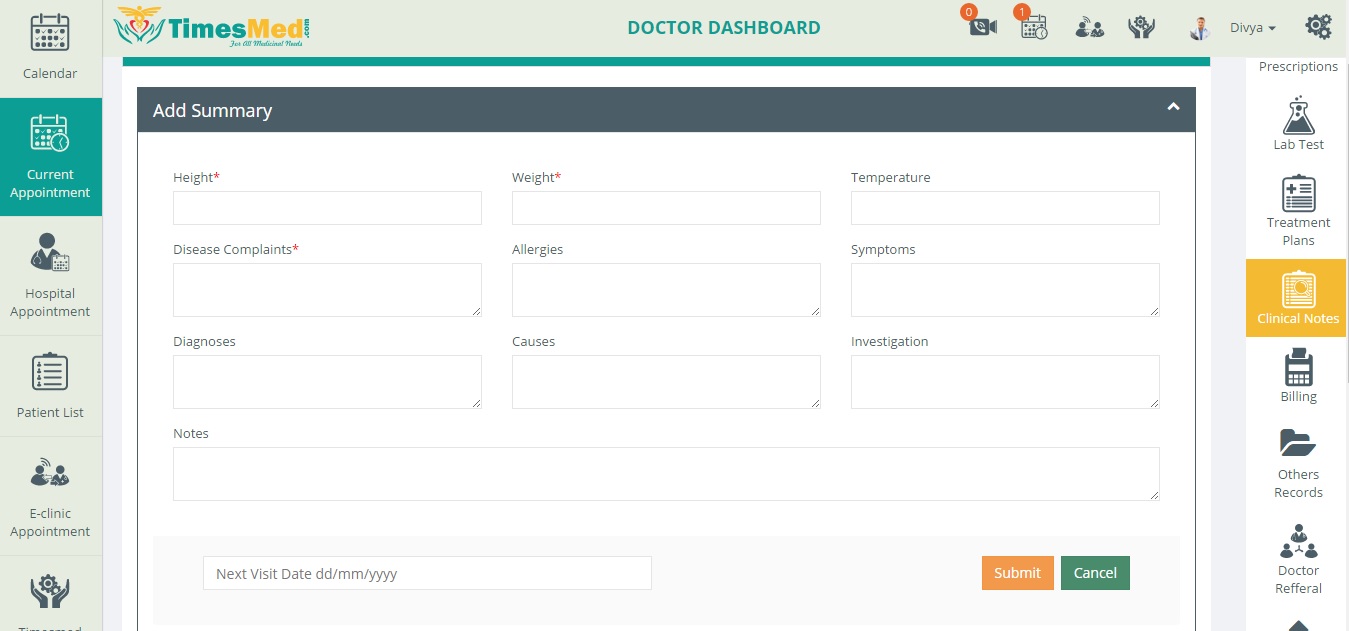
Select the clinical notes option from the right side sub menu and then click add summary. The doctor can add the vital information and about the diagnosed disease of the patient to click submit.
This is done by the doctor only after the consultation is over. By doing this the patient’s appointment status will show as completed and then it goes under checked out list.
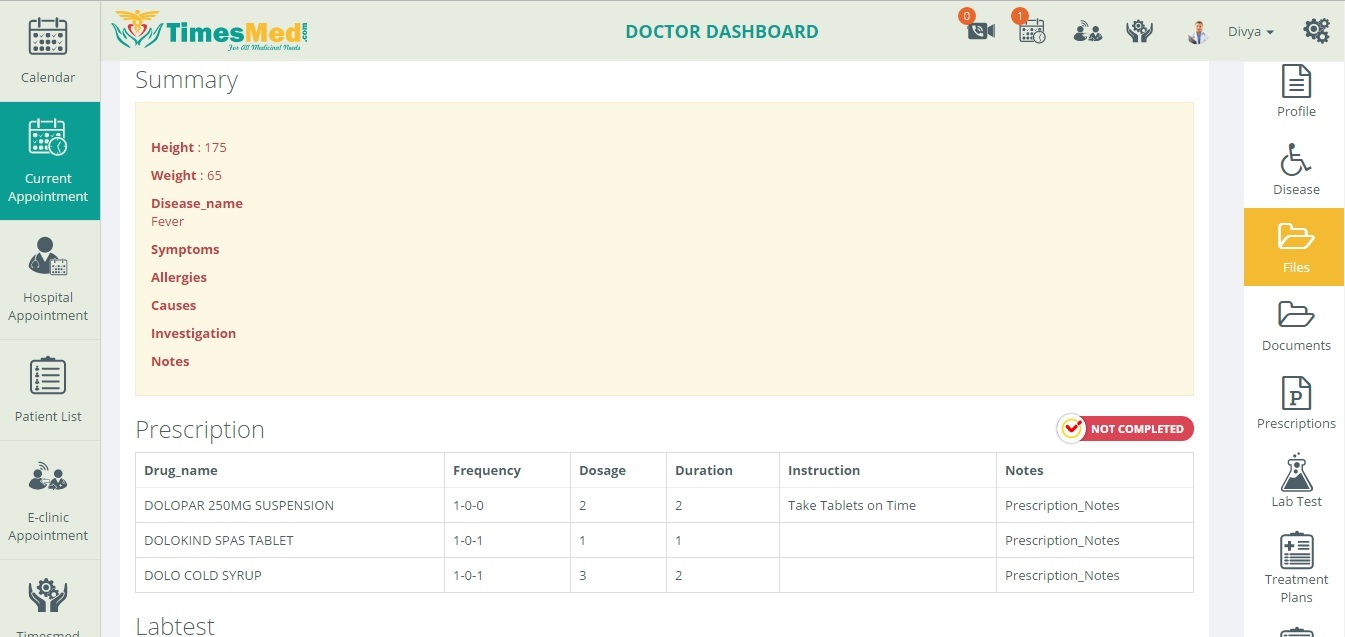
When the files option from the right side sub menu is selected, the doctor can view the summary of the patient such as vital information, prescription, lab test, documents that are uploaded etc.
This is to keep a track of the patient record by the doctor.
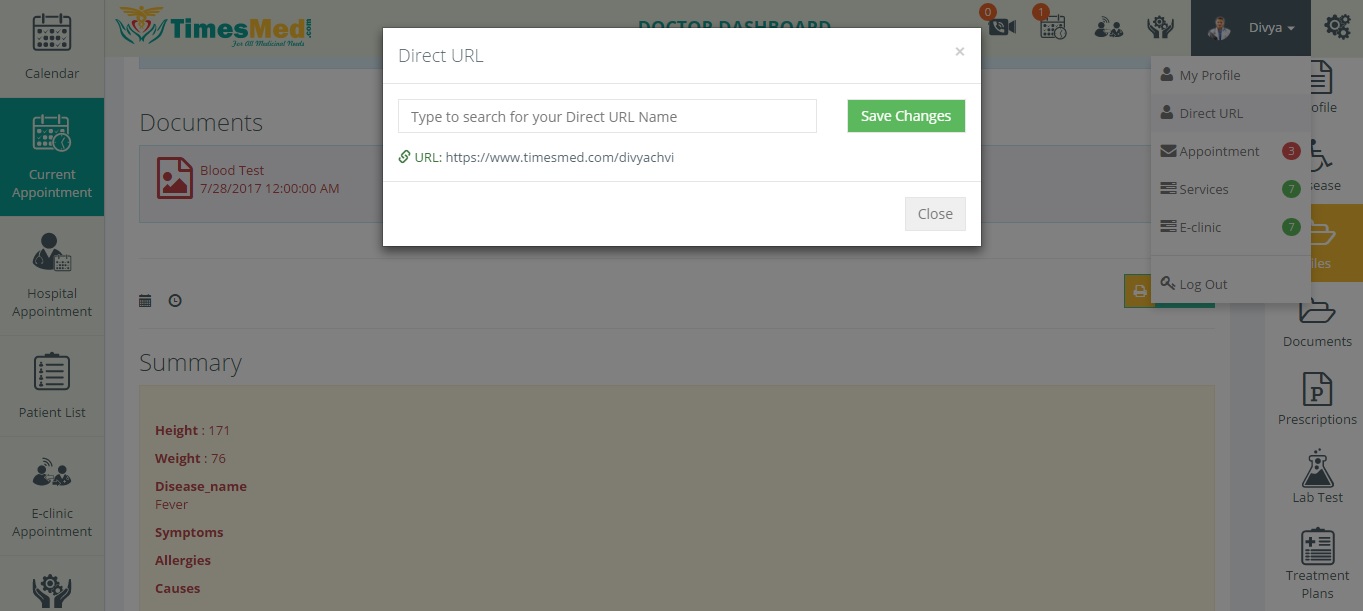
If the doctor want to create a Direct URL, select the profile name in the right corner, a dropdown list will appear. In that select Direct URL, create a unique URL and then save. This may be very helpful for the patients to reach the doctor easily. Sometimes it is also useful for the doctor to view his/her profile directly by giving that URL.
So the URL will appear like www.timesmed.com/doctorsname. By giving this URL the patient will be directed to the respective doctor’s page.
The doctor can chat with the appointment user by selecting the chat new option which is available in the bottom scroll bar.
This option is useful when the doctor wants to send the report and the things he/she has observed to the patient once he receives.
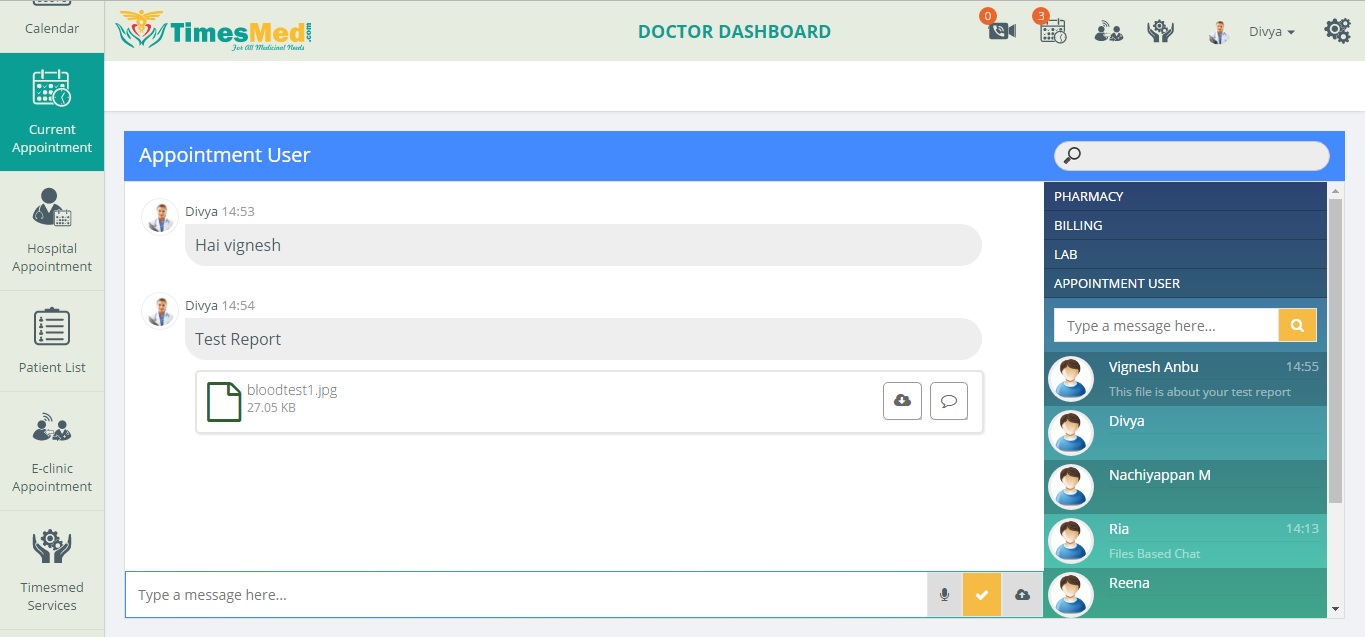
The doctor should select the Appointment User option which is available in right side in order to chat with that user/patient. He can also drag and drop or upload records and send it to the patient.
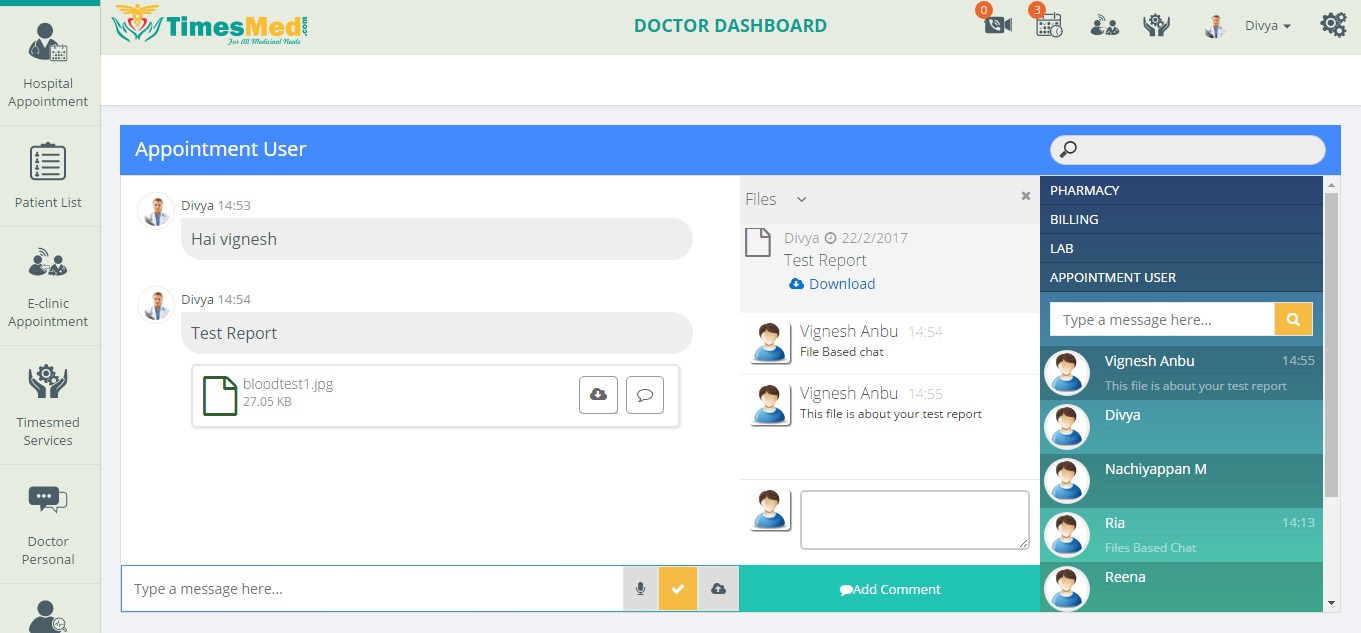
File based chat is also available and for that the doctor must click the cloud symbol in the uploaded file.
Then the doctor may send the observed information about the patient’s record through the file based chat.
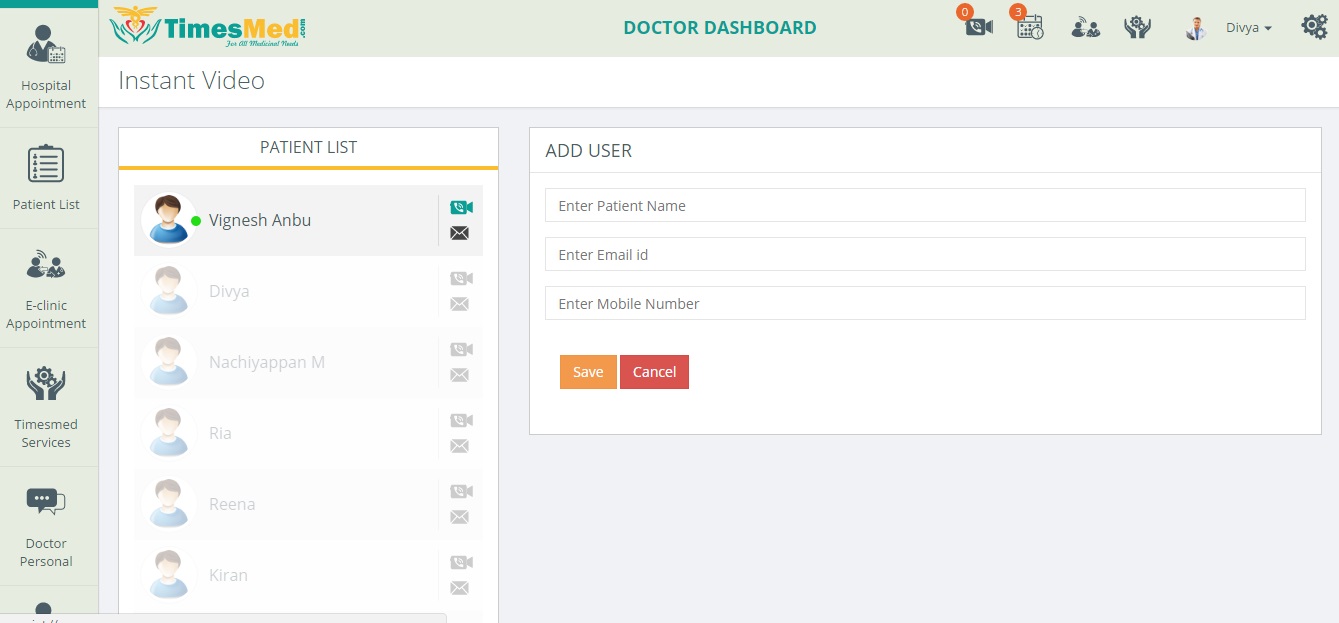
The doctor can also do video consultation if the patient couldn’t turn up in that time to the hospital by selecting the instant video option from the bottom scroll bar.
In that above page the doctor can view the patients list. The video option will be enabled when the patient is in online.
If the patient is not in online the message option will be enabled and then the doctor can click on it, so that the link of that video will be sent as a message to the patient’s mobile number. When the patient opens that link the doctor will get a ring in his/her system. The name of the patient who is calling will be shown through the video button that is found next to the doctor dashboard title.
After finishing the appointment or the consultation, the doctor can view the dashboard whether the patient name has come under the checked out list. And like this he could book and take appointments accordingly.


