Timesmed provides separate login features for doctors, patients and service providers. For new doctor registration, kindly follow the steps below:
On clicking the FREE DOCTOR REGISTRATION tab on the homepage, you will be redirected to a form as shown below. Log-in tab is for the existing user and the registration tab is for the new user.
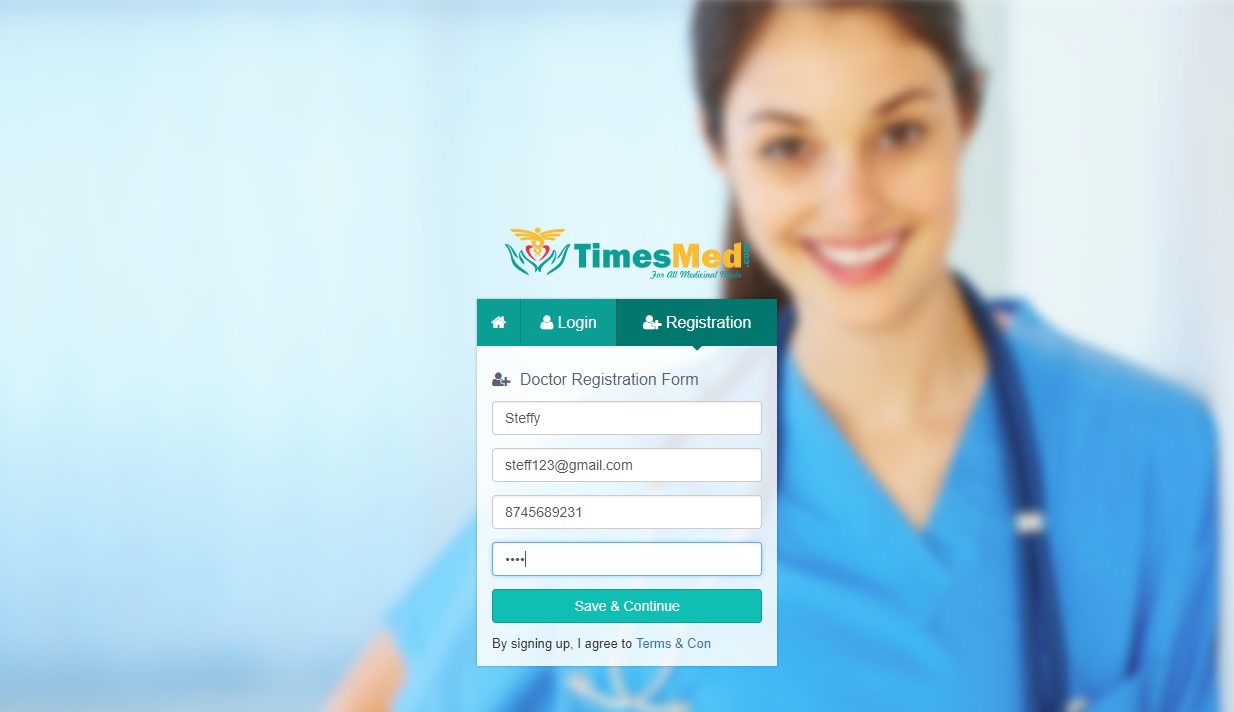
In the form displayed, fill in your essential details such as name, mail id, contact number and a password to gain access to your account. After filling in all the fields, click on the Save & Continue button.
Now, it is essential that the doctor should enter the necessary details.

Firstly, fill the fields under the personal info tab. The details that were already entered on the registration form gets updated on the corresponding fields here. Kindly fill in the remaining fields and click the Save button. Your details will be updated successfully.
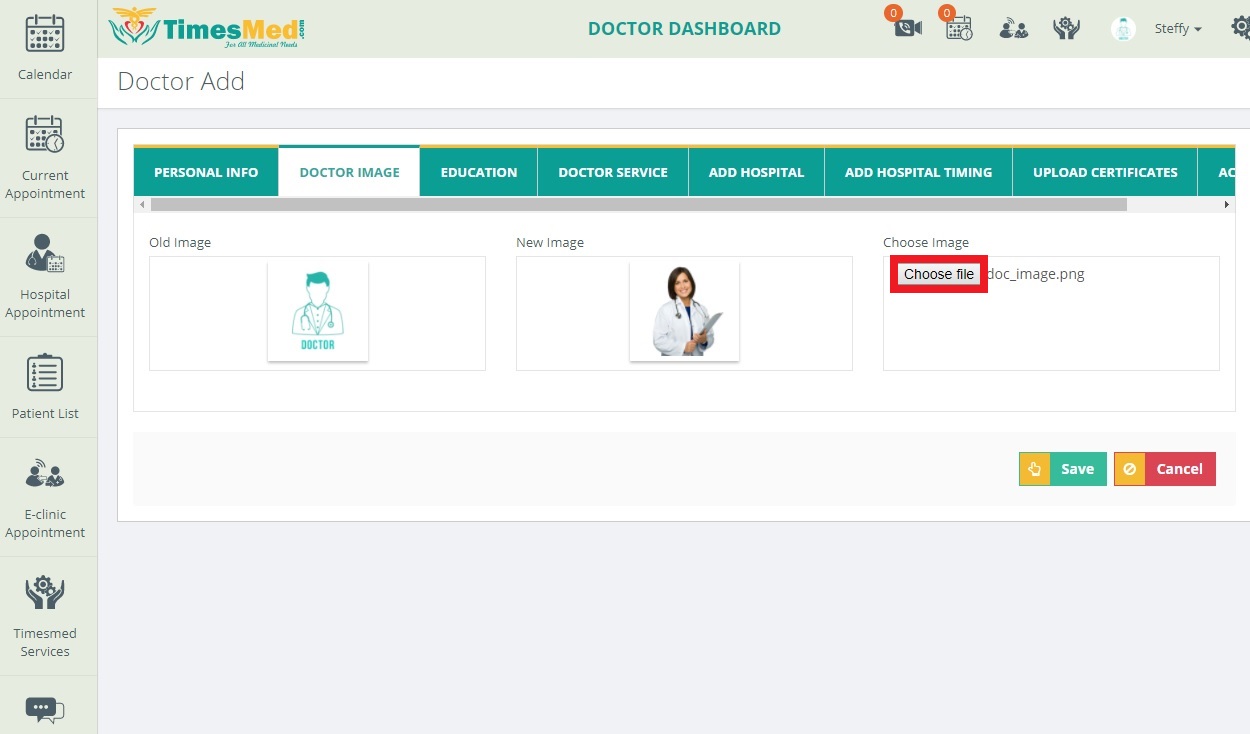
Next, kindly upload the doctor image by choosing a file from the required folder and uploading it at the Choose image box. Click on the Save button after uploading the image.
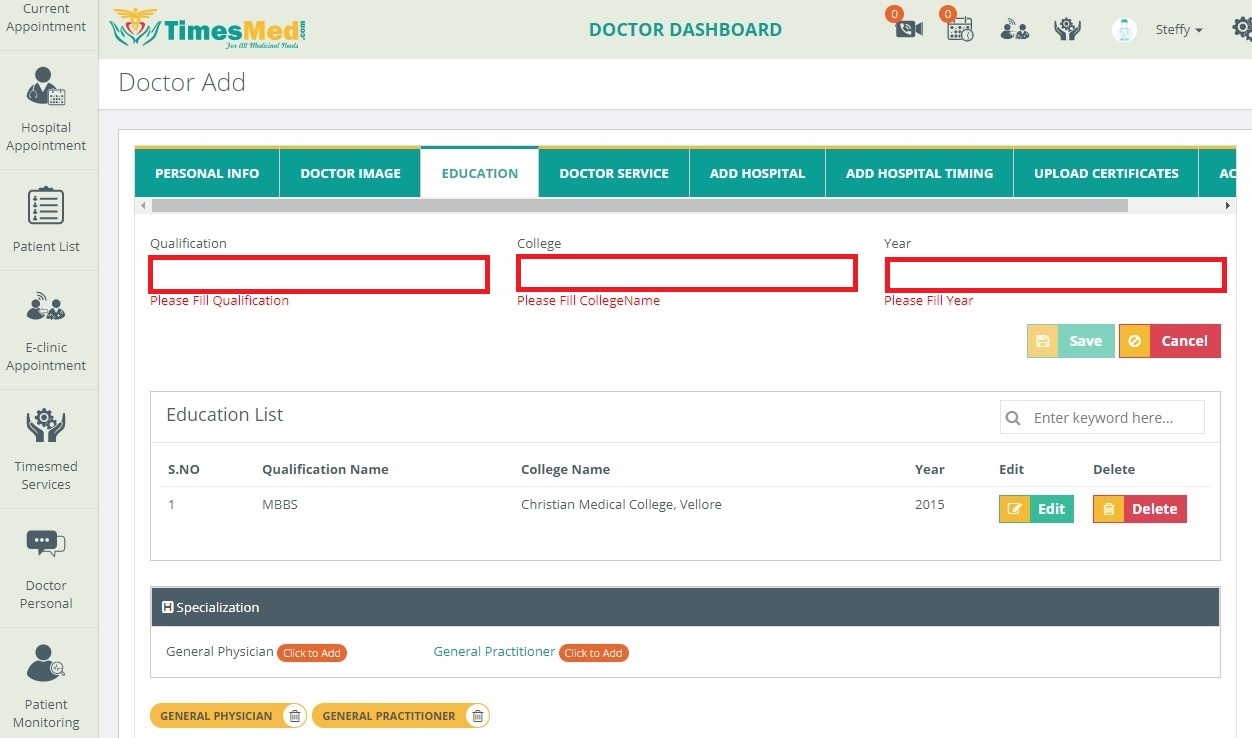
The next tab is for specifying the educational qualifications of the doctor. Please mention the correct qualification, college and the year of passing. For the user’s convenience, a drop down box appears on typing relevant alphabet. On clicking the Save button, the details specified get displayed below in a read-only format. The user can edit this by clicking the Edit button on the right. After this, the doctor is supposed to mention his/her Specialization. It could be chosen by clicking on the options displayed and they will be added.
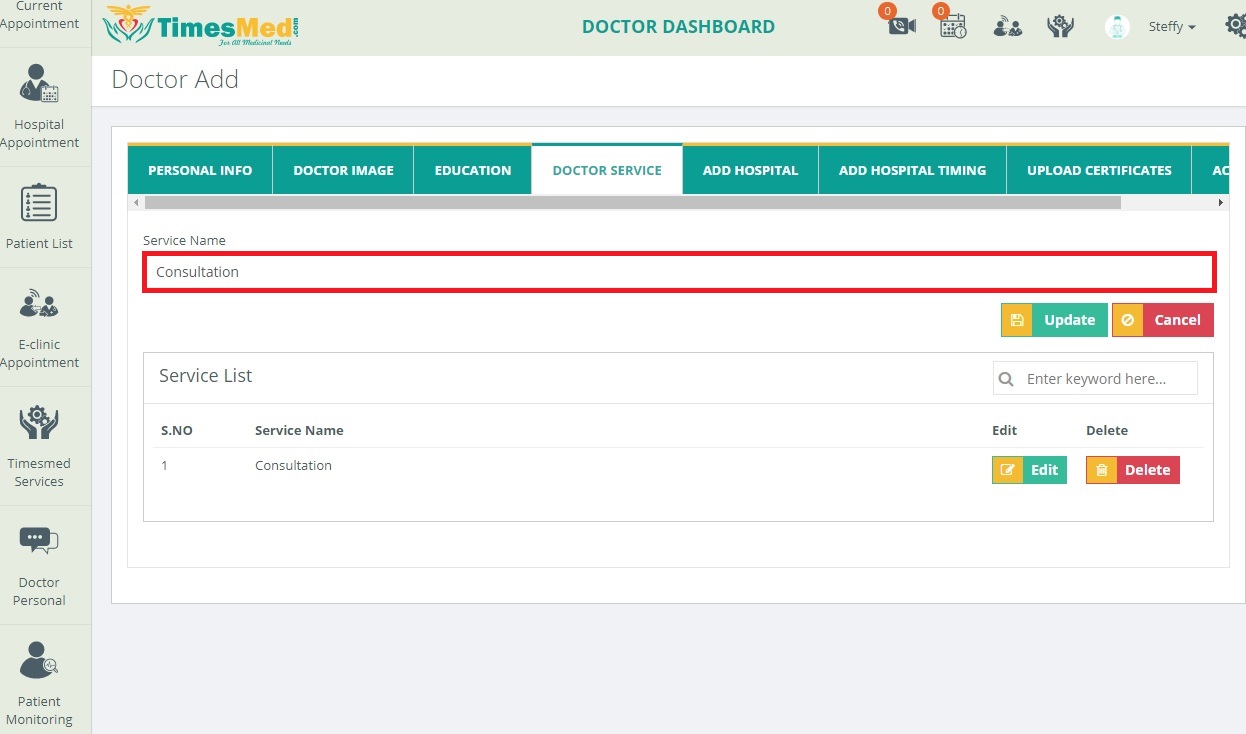
Here, kindly enter the service name. On typing the relevant alphabet, a choice dropdown box will be displayed. Concerned name can be chosen from this box too. More than one service name can be added here. Either you can enter the keyword or type on the service namespace and update those details which will be shown on the service list. The list can also be edited by clicking on the Edit button.
The doctor might be practicing in various hospitals at different time intervals.Therefore,this tab is used to provide the different hospital names,contact numbers separate login for the office use,timing of the doctor availability,service,hospital image and the exact location details.For precise view of the location,the doctor can use the inbuilt map and fix the marker at the suitable point.
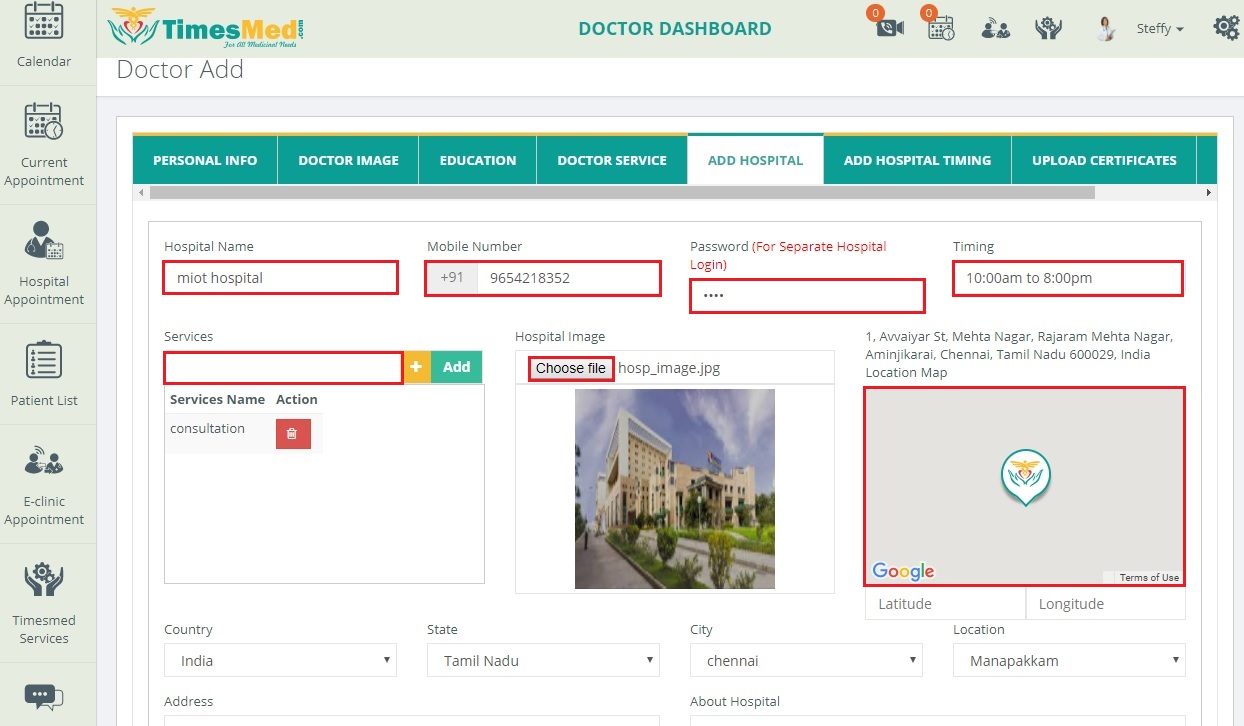
The user can add more than one hospitals and save the individual hospital details which will be viewed as a summary at the end.

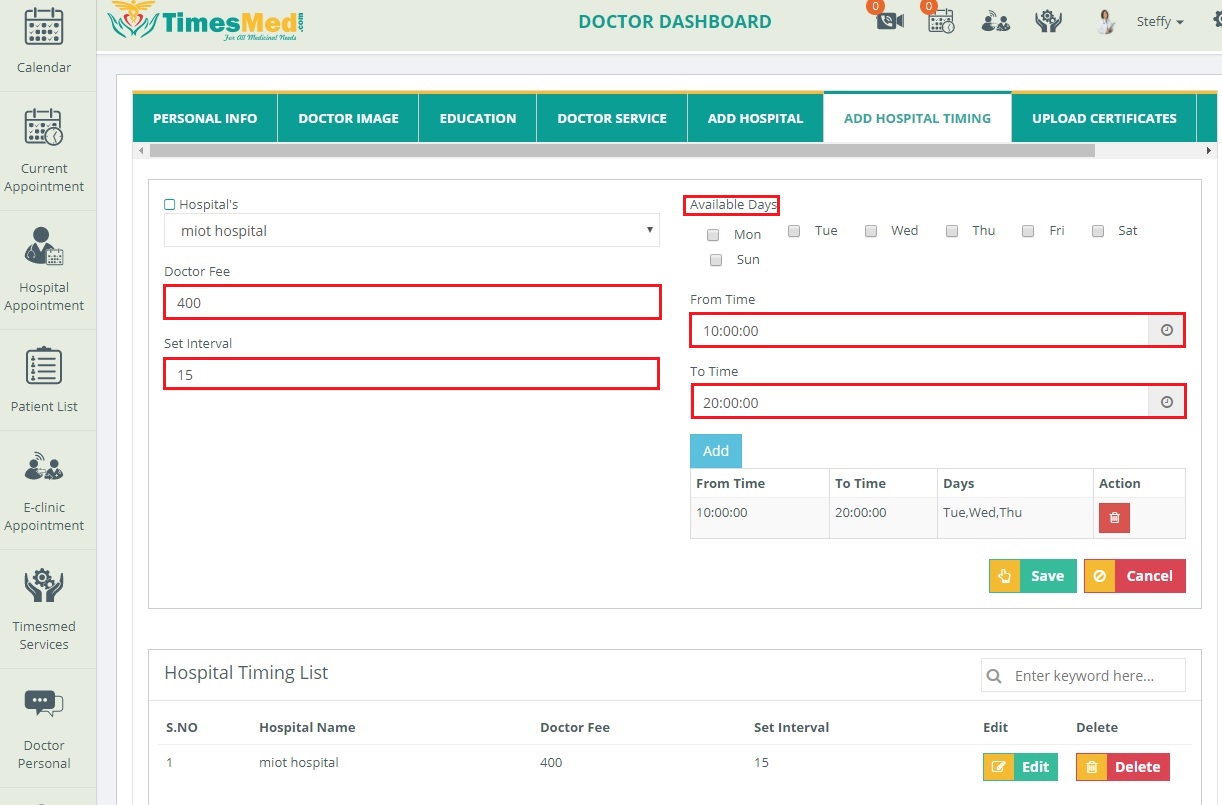
On adding the hospital details,the user should now specify individual timing,fee,interval of consultation and time for each and every hospital that was specified in the previous tab.Click the Save button and the summary of fields filled is displayed.
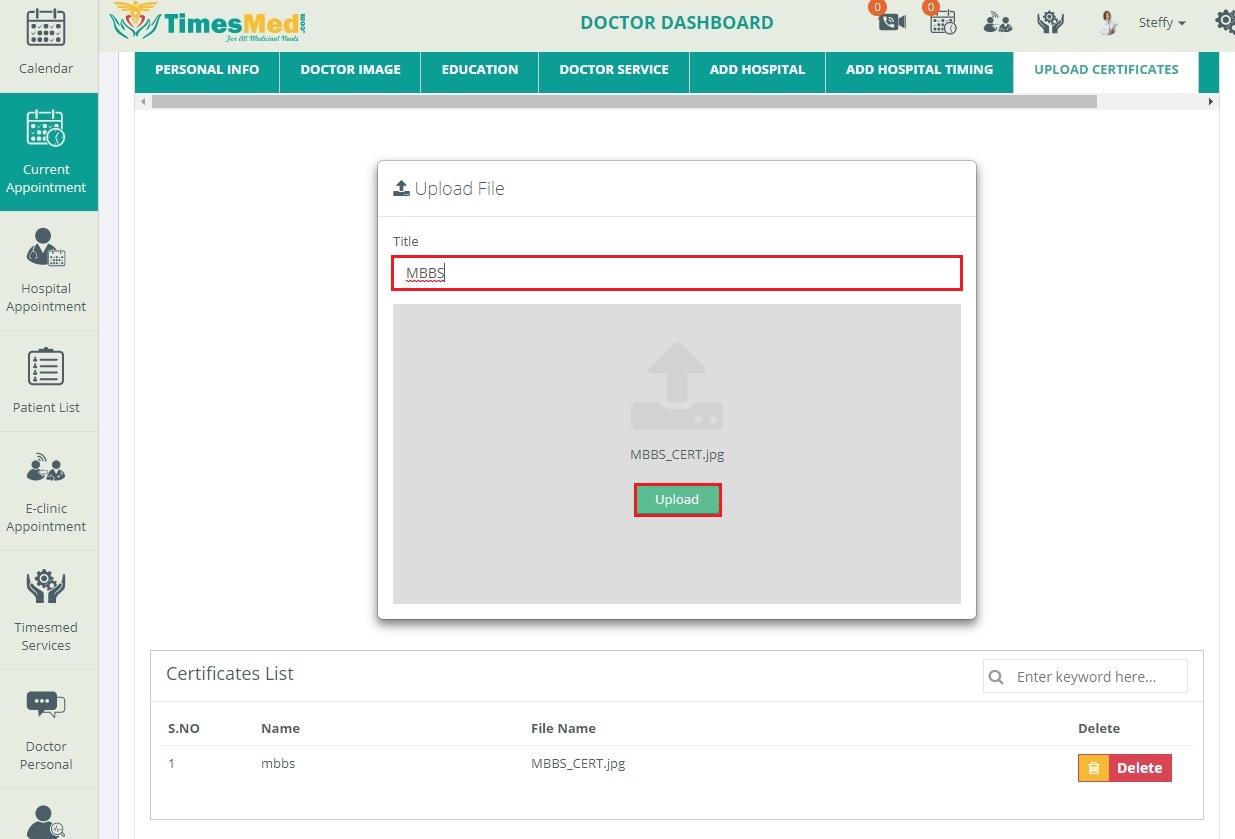
The next tab is for uploading the doctor’s certificates as a proof of qualification.The files can be dragged and dropped into the field and the title of the certification can also be provided.After uploading,the summary of added documents is displayed.
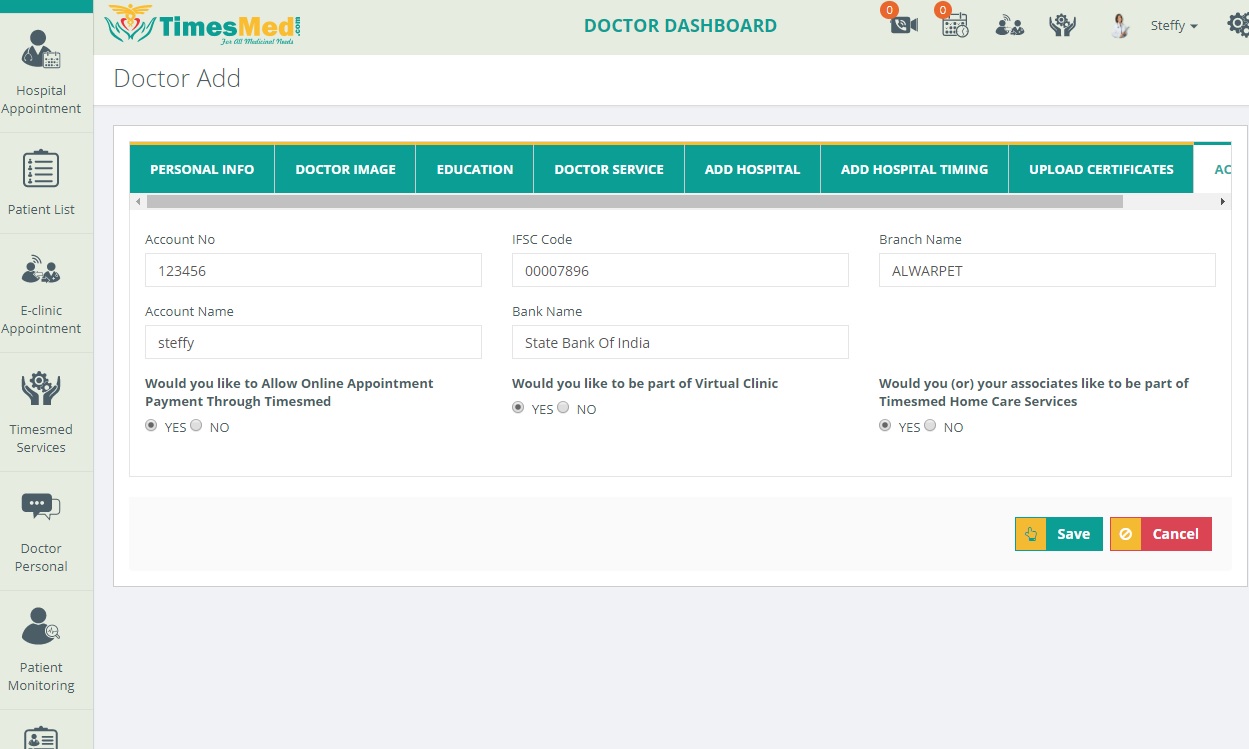
Finally,the doctor has to provide the bank details for the transaction of payment after the consultation since the online patients will need this option for making the payment.Please enter the legitimate bank details for successful transaction.Save the details.Thus,a new doctor profile is created.